Identifying Stone Veneer Damage: What Every Aussie Homeowner Needs To Know
Protecting your investment and the beauty of your Aussie home starts with understanding how to spot stone veneer damage early. Knowing the difference between a minor cosmetic issue and a serious structural problem can save you significant money and stress in the long run. Let's explore the essential facts every homeowner in Australia needs to know.
Common Types of Stone Veneer Damage
Australia's harsh climate, from scorching summers to frosty winters, can take a toll on stone veneer. Cracks, often caused by temperature fluctuations, are a common sight, particularly in inland regions. Chipping, resulting from impacts or freeze-thaw cycles, is another frequent problem. Finally, discolouration due to prolonged exposure to the elements, especially UV rays, can diminish your home's aesthetic appeal.
Assessing the Severity: Surface vs. Structural
While surface-level damage like minor scratches or fading might not require immediate action, deeper issues demand your attention. Deeper cracks, loose stones, or efflorescence (salt deposits) signal a potentially serious underlying problem that could compromise the structural integrity of your veneer. Addressing these issues promptly is crucial to prevent further damage.
Stone veneers offer an attractive and often more affordable alternative to natural stone. However, they can be less durable, especially manufactured stone veneers. These are susceptible to chipping and breaking, potentially leading to higher repair costs and an imperfect restoration of the original appearance. Want to learn more about the durability of stone veneer? Check out this informative article: Stone Veneer vs Natural Stone Veneer: The Good, The Bad & The Correct Choice. For more information on different types of stone veneer, see Types of Stone Veneer.
Inspecting Your Stone Veneer: A Practical Guide
Regular inspections are your first line of defense against costly repairs. Begin with a visual examination, looking for any obvious signs of damage. Next, gently tap the stones with a hard object. A hollow sound indicates a loose stone that needs attention. Pay particular attention to corners, edges, and areas around windows and doors, which are vulnerable points. Finally, check for moisture penetration, a leading cause of veneer failure and a potential source of significant problems.
When to Call the Professionals
While some minor repairs are suitable for DIY enthusiasts, knowing your limitations is important. Structural damage, extensive repairs, or complex installations demand the expertise of seasoned professionals. Their skill and experience ensure the job is done correctly, protecting your home’s value and preventing future issues. Don't risk further damage by attempting repairs beyond your capabilities. Invest in professional expertise for long-lasting results.
Building Your Stone Veneer Repair Toolkit: Smart Shopping & Prep
A successful stone veneer repair project starts with the right tools and materials. Don't let pushy salespeople convince you to buy everything under the sun. We'll guide you through the must-haves, and show you how to avoid unnecessary expenses.
Essential Tools
Equipping yourself with the right tools will make the repair process smoother and more efficient. Here's what you absolutely need:
-
Safety Gear: Safety always comes first. Invest in quality safety glasses, gloves, and a dust mask. Protecting yourself from dust and debris is crucial for your health.
-
Mortar Removal Tools: A chisel and hammer are essential for removing damaged sections of veneer. A grout saw provides precision for more delicate tasks.
-
Adhesive Application: A notched trowel helps you achieve an even spread of adhesive, creating a stronger, more reliable bond.
-
Mixing Tools: A bucket and a sturdy mixing paddle are essential for preparing your mortar and adhesive mixtures.
-
Level and Measuring Tape: Accuracy is key. A level and measuring tape ensure proper placement and a professional-looking finish.
Sourcing Materials Economically
Securing quality materials without breaking the bank is essential for any successful repair. Luckily, numerous Australian suppliers offer competitive pricing on everything you'll need. Start by checking your local hardware stores like Bunnings and Mitre 10. Also consider contacting specialist stone suppliers for potentially better deals. For inspiration, take a look at this helpful guide: How to master your exterior stone veneer home transformation. Looking to maximize your savings? Time your purchases to coincide with seasonal sales or end-of-financial-year clearances for significant discounts.
To help you plan your purchases, we've compiled a handy checklist:
Before you start your project, review this comprehensive checklist to ensure you have all the necessary tools and materials. Proper preparation is key to a successful and efficient repair.
| Item | Purpose | Estimated Cost (AUD) | Where to Source |
|---|---|---|---|
| Safety Glasses | Eye Protection | $5 – $20 | Bunnings, Mitre 10, Hardware Stores |
| Gloves | Hand Protection | $5 – $15 | Bunnings, Mitre 10, Hardware Stores |
| Dust Mask | Respiratory Protection | $5 – $10 | Bunnings, Mitre 10, Hardware Stores |
| Chisel & Hammer | Removing Damaged Veneer | $15 – $30 | Bunnings, Mitre 10, Hardware Stores |
| Grout Saw | Precision Mortar Removal | $10 – $20 | Bunnings, Mitre 10, Hardware Stores |
| Notched Trowel | Even Adhesive Application | $10 – $15 | Bunnings, Mitre 10, Hardware Stores |
| Bucket & Mixing Paddle | Mortar & Adhesive Mixing | $10 – $20 | Bunnings, Mitre 10, Hardware Stores |
| Level & Measuring Tape | Accurate Placement & Measurement | $15 – $30 | Bunnings, Mitre 10, Hardware Stores |
| Mortar/Adhesive | Bonding Veneer | $20 – $40 per bag | Bunnings, Mitre 10, Specialist Stone Suppliers |
| Sealant (Optional) | Weatherproofing | $15 – $25 per tube | Bunnings, Mitre 10, Specialist Stone Suppliers |
| Epoxy Resin/Acrylic Sealant (Optional) | Minor Chip/Crack Repair | $10 – $20 per tube | Bunnings, Mitre 10, Hardware Stores |
This table provides a general cost guide. Actual prices can vary depending on brand, quantity and supplier.
Climate Considerations
Australia's diverse climate plays a significant role in material selection. In humid coastal regions, a moisture-resistant adhesive is vital to prevent premature deterioration. Drier inland areas demand a flexible adhesive that can withstand temperature fluctuations. Consult with local suppliers. They can provide expert recommendations tailored to your specific location. Choosing the right adhesive is crucial for ensuring a long-lasting repair that can endure challenging weather conditions.
Smart Alternatives and DIY Solutions
Stone veneer repair doesn't always demand pricey, specialized products. Minor chips or cracks can often be effectively repaired with epoxy resin or a colour-matched acrylic sealant. These readily available options are cost-effective alternatives to traditional mortar repairs. Repurposing broken veneer pieces for smaller fixes minimizes waste and further stretches your budget. This resourceful approach saves you money and reduces your environmental impact. Careful planning and smart shopping decisions will empower you to complete a successful, cost-effective repair.
Mastering The Repair Process: From Damage To Stunning Results
This guide provides a step-by-step approach to repairing stone veneer, transforming damaged areas into stunning features. We'll cover the entire process, from assessing the damage to adding the finishing touches. This detailed, prep-work-focused approach sets professional repairs apart from amateur attempts.
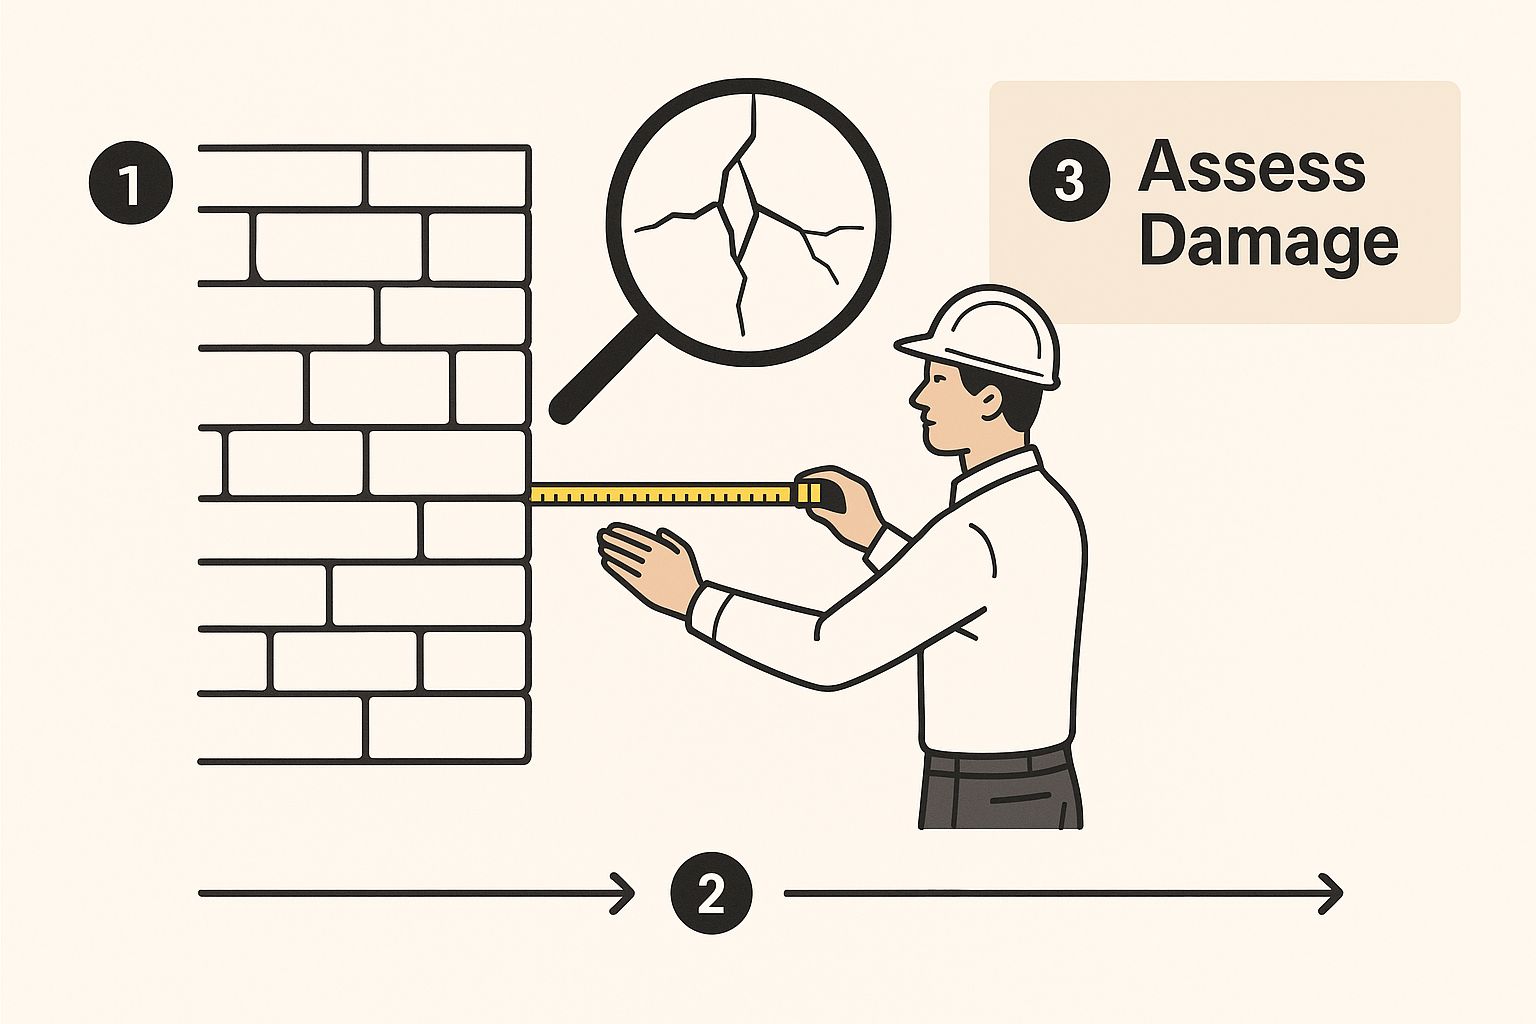
The infographic above shows the first step in stone veneer repair: damage assessment. A contractor meticulously examines a wall, using tools like a measuring tape to identify cracks and other problems. This detailed assessment forms the bedrock of a successful repair, informing every subsequent step.
Assess The Damage
Start by carefully inspecting the damaged area. Determine the type of damage—cracks, chips, or loose stones. Measure the affected area to gauge the repair’s scope. This crucial first step helps you gather the necessary tools and materials, ensuring you're well-prepared for the task ahead.
Remove Damaged Pieces
Carefully remove the damaged veneer pieces. For cracked pieces, use a chisel and hammer, applying gentle pressure to prevent further damage. Loose stones should be gently pried away from the wall. This controlled removal minimizes damage to the surrounding veneer, preserving the integrity of the wall.
Prepare The Surface
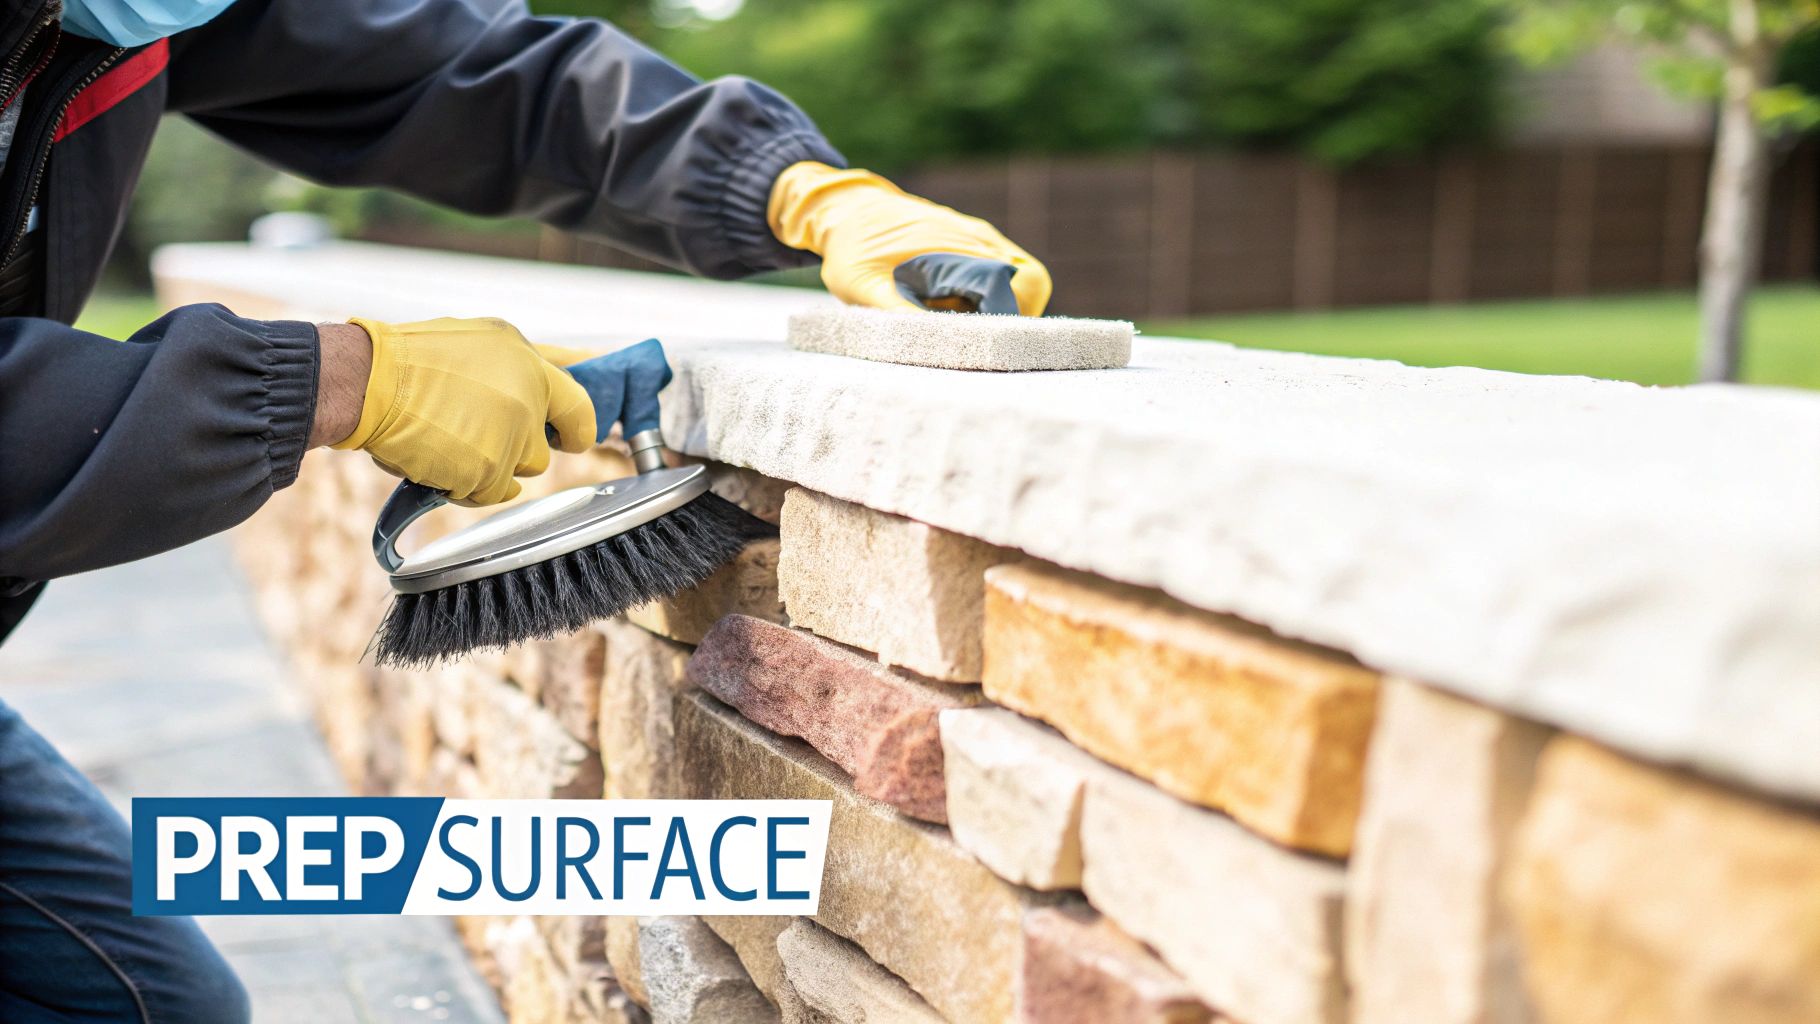
Thoroughly clean the surface with a wire brush. This removes loose mortar, dirt, and debris, ensuring proper adhesion for the new veneer. For stubborn residue, use a cleaning solution specifically designed for your veneer type. A clean surface is essential for a long-lasting, visually appealing repair.
Apply Adhesive
Apply a suitable adhesive to the back of the replacement veneer or directly to the wall. Use a notched trowel to ensure even distribution, preventing air pockets and ensuring a strong bond. Choose the adhesive based on your climate and veneer material. In humid areas, a moisture-resistant adhesive from a trusted supplier like Bunnings or Mitre 10 is crucial.
Place and Secure The New Veneer
Carefully position the new veneer, aligning it perfectly with the surrounding stones. Apply firm, even pressure to secure it to the adhesive. Use a level to guarantee proper alignment and a professional finish. Accurate placement ensures a seamless, natural look.
Finishing Touches
After the adhesive sets, fill any gaps with mortar or color-matched sealant. This creates a seamless, virtually invisible repair. Remove excess mortar or sealant with a damp sponge for a clean, polished appearance. These finishing touches elevate the repair, making it blend seamlessly with the existing veneer.
Curing and Inspection
Allow 24-48 hours for the adhesive and mortar to cure, depending on the weather and product specifications. After curing, inspect the repair for proper adhesion and a consistent finish. Address any imperfections immediately to prevent bigger issues down the line. Patience during the curing process is key to a durable, lasting repair.
Handling Complex Repairs
For complex repairs involving corners, decorative elements, or irregular shapes, professional help might be necessary. Professionals possess the expertise and specialized tools for these intricate tasks. However, with the right tools and a methodical approach, many repairs are within reach for DIY enthusiasts.
Timing and Weather Considerations
Weather plays a significant role in successful repairs. Avoid extreme heat, cold, or heavy rain, as these can affect adhesion and curing. Ideally, choose a dry, mild day. This strategic timing significantly impacts the longevity and quality of the repair.
Smart Money Decisions: DIY Versus Professional Repair Costs
Deciding between a DIY stone veneer repair and hiring a professional can be a tough call. This guide breaks down the actual costs involved, empowering you to make a financially sound decision. Considering DIY vs. professional services for other home repairs? Check out resources like this one on Sliding Glass Door Repair Expert Tips Solutions for valuable insights.
Assessing DIY Potential: Small Repairs Vs. Larger Projects
Minor repairs, such as filling small chips or cracks, often lend themselves well to DIY projects. The costs are usually confined to materials, typically ranging from $20 to $50.
However, larger, more complex repairs, like replacing numerous stones or fixing structural issues, often demand professional expertise. This is where grasping the true costs becomes paramount.
The True Cost of Professional Repair: Factors To Consider
Professional stone veneer repair costs in Australia fluctuate considerably based on several key factors: the extent of the damage, the type of stone, and the accessibility of the repair area.
Regional price differences across Australian markets also come into play. For instance, repairs in Sydney or Melbourne might be steeper than in regional areas. Securing multiple quotes from reputable contractors is essential for competitive pricing.
Hidden Costs of DIY: Time, Tools, and Trouble
While DIY might appear cheaper initially, it’s crucial to account for the hidden costs. Time investment, tool purchases, and the risk of errors can rapidly escalate expenses. Improperly applied adhesive or poorly sealed joints can result in more substantial and costly damage later.
Another significant factor is the cost linked to initial installation flaws. Surprisingly, faulty installations can drastically inflate repair expenses. Learn more about prevalent serious stone cladding problems.
Making Informed Decisions: Maximizing Your Repair Budget
To maximize your repair budget, begin by thoroughly assessing the damage. Obtain multiple quotes from qualified professionals, ensuring they itemize all costs. Don't shy away from negotiation.
For minor, cosmetic fixes, DIY can be a budget-friendly option. But for structural issues or extensive damage, professional intervention generally delivers the best long-term value.
Evaluating Contractor Quotes: Red Flags and Negotiation Tactics
When evaluating quotes, look beyond the final price. Ensure the quote includes a detailed breakdown of labor, materials, and any additional fees. Be cautious of suspiciously low bids, which could indicate substandard materials or inexperienced workmanship.
Clear communication and a comprehensive written contract protect both you and the contractor. Negotiating price is acceptable, but prioritize quality over the lowest price. This approach not only safeguards your home’s value but also avoids costly rework down the road. By understanding these factors, you can make informed financial decisions that protect both your home and your wallet.
Preventive Maintenance: Avoiding Repairs Before They Start
Want to know the best-kept secret for stone veneer repairs? It's simple: avoid them altogether! This section dives into proactive maintenance, the key to keeping your stone veneer looking its best and minimizing future costs. This forward-thinking approach not only saves you money but also ensures your veneer remains a captivating focal point for years to come.
Regular Cleaning: Keeping Your Veneer Sparkling
Just like your car or barbeque, your stone veneer thrives on regular cleaning. This straightforward task prevents the build-up of dirt and grime, which can lead to discoloration and even damage over time. For routine cleaning, a gentle solution of mild detergent and water applied with a soft brush or cloth works wonders. Steer clear of harsh chemicals or abrasive cleaners. These can etch or damage the delicate stone surface. Always rinse thoroughly with clean water after cleaning. For more guidance on sourcing your stone veneer, check out this helpful resource: Where to buy stacked stone veneer.
Water Management: The Key to Long-Term Durability
Water penetration is arguably the biggest threat to stone veneer. Water can infiltrate behind the veneer, compromising the adhesive and resulting in loose stones and even structural problems. This is particularly critical in Australia's diverse climate, where heavy downpours, humidity, and coastal salt spray can wreak havoc on unprotected veneer. Ensure you have sufficient flashing and sealant around windows, doors, and other openings to effectively channel water away. Regularly inspect the sealant for cracks or gaps, and repair them promptly. Proper drainage is also paramount, so make sure your gutters and downspouts are clear and directing water away from your home’s foundation.
Seasonal Care: Protecting Against Aussie Weather Extremes
Australia's climate can fluctuate dramatically, from intense heat to freezing conditions, depending on the region. This means seasonal maintenance is crucial for safeguarding your stone veneer. In hotter climates, regular cleaning prevents dirt build-up, which can absorb heat and stress the stone. In colder regions, proper drainage and sealing are vital to prevent water damage from freeze-thaw cycles. Inspecting your veneer for cracks or damage before winter provides a valuable opportunity to address any issues before they escalate. This proactive step is particularly beneficial in areas susceptible to severe weather.
Early Intervention: Addressing Minor Issues Before They Escalate
Early detection of minor problems is the foundation of effective preventive maintenance. Inspect your stone veneer regularly, ideally twice a year, looking for signs of damage such as cracks, chips, or loose stones. Pay special attention to vulnerable areas around windows, doors, and rooflines. Addressing these issues quickly stops them from evolving into larger, more costly repairs. Think of it like maintaining your car – regular servicing and addressing small problems prevents major headaches and expenses down the line. This proactive strategy saves you money and preserves the beauty and structural integrity of your stone veneer.
Next-Generation Solutions: Modern Tools & Techniques
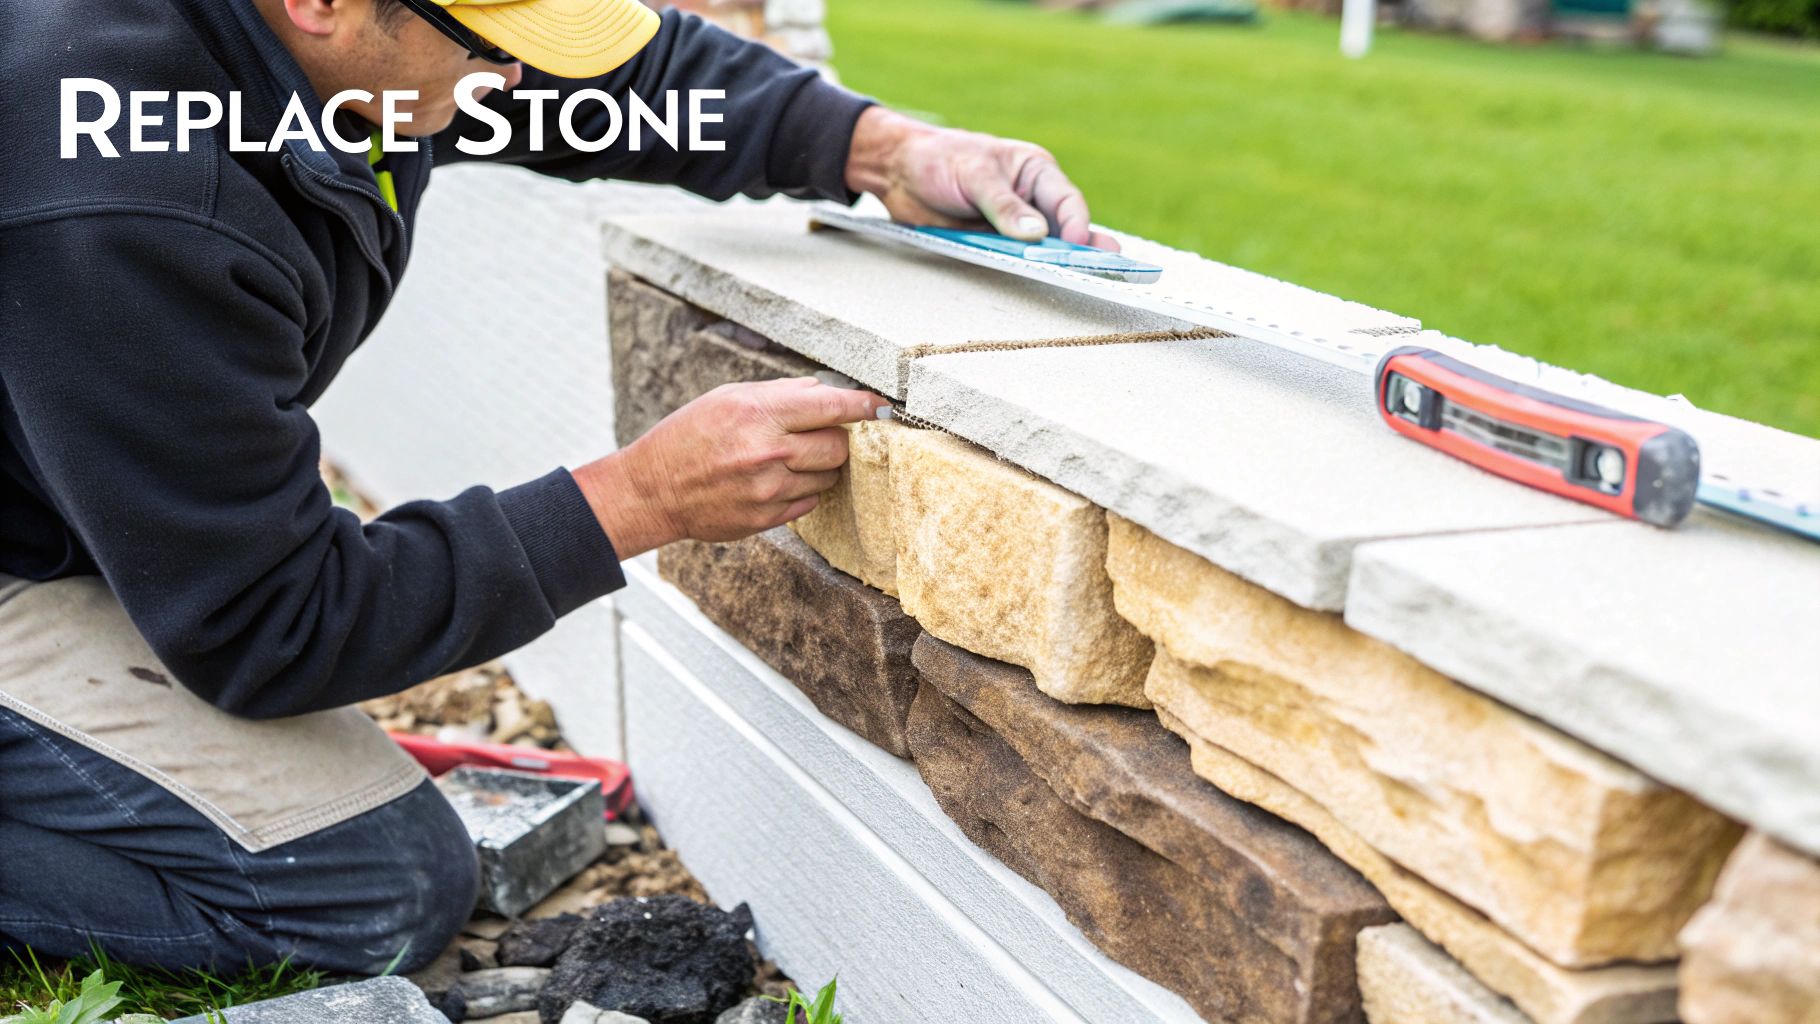
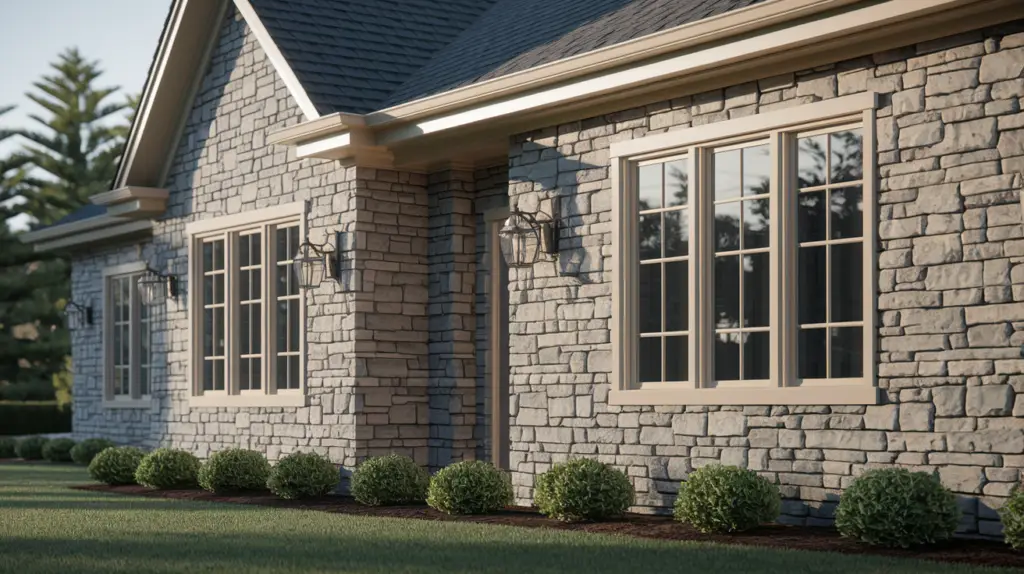
The image above demonstrates the remarkable precision and artistry achievable with today's stone veneer repair techniques. These advancements empower professionals and DIYers alike to achieve truly exceptional results, meaning repairs are less disruptive and significantly more effective. Convinced? Read on to discover how.
Advanced Adhesive Systems
Australia's harsh climate, from scorching UV rays to extreme temperature fluctuations, demands resilience. Modern adhesive systems are specifically formulated to meet this challenge. These high-performance adhesives offer unparalleled bonding strength and flexibility compared to their predecessors.
Some adhesives now incorporate advanced polymers, providing exceptional resistance to moisture and freeze-thaw cycles. This makes them perfect for coastal areas and regions prone to frost. The result? Durable and beautiful repairs that stand the test of time.
Superior Colour-Matching Compounds
Say goodbye to noticeable repair patches. Advanced colour-matching compounds allow for seamless blending, rendering repairs practically invisible. With an expanded range of colours and textures available, finding a perfect match for even the most unique stone veneer is now possible.
Restore your home's original beauty without any trace of repair work. Some manufacturers even offer custom colour-matching services for truly bespoke results. Imagine the possibilities!
Innovative Repair Tools
The world of repair tools is constantly evolving. Specialized tools designed for intricate tasks, like corner repairs and detailed work around decorative elements, are becoming readily available. This empowers DIY enthusiasts to tackle complex repairs with confidence.
Digital tools are also emerging. Think smartphone apps that assist with damage assessment and repair planning. For businesses, being prepared is key. A business continuity plan checklist can be a valuable asset.
Sustainable Practices and Durable Products
The Australian stone veneer market is facing challenges head-on, embracing growth through modern manufacturing and sustainable practices. Despite market competition and economic uncertainties, the industry is poised for expansion, fueled by opportunities in infrastructure and renovations. Discover more about the evolving Australian stone veneer market.
This commitment to sustainability extends to repair practices. Environmentally friendly adhesives and repair compounds are increasingly accessible, allowing homeowners to make responsible choices. Improved manufacturing processes are also yielding more durable stone veneer products, reducing the need for frequent repairs. Sustainability and durability: a winning combination.
Emerging Protective Coatings and Treatments
Extend the life of your stone veneer repairs with new protective coatings and treatments. These coatings offer superior resistance to moisture, UV damage, and staining, safeguarding your investment from the elements.
Some advanced coatings even offer self-cleaning properties, minimizing maintenance. This proactive approach preserves the beauty and integrity of your stone veneer for years to come, making it a smart investment.
Professional Insights & Your Path To Repair Success
Drawing from decades of experience in the Australian stone industry, this section offers invaluable insights to help you achieve outstanding results in your stone veneer repairs. We'll explore the professional techniques that ensure success, highlight common DIY pitfalls, and provide effective strategies for maintaining high quality throughout your project.
Timing Is Everything: Weather Conditions and Project Success
Australian weather can significantly impact the durability of your repairs. Extreme heat can accelerate adhesive drying, weakening the crucial bond. Conversely, freezing temperatures can cause expansion and contraction, leading to cracks in the veneer. Therefore, timing your repairs during mild, dry weather is paramount for long-lasting results. Also, consider your project's scope. Larger projects demand more time and might benefit from a staged approach to maintain consistent quality across the entire surface.
Quality Control: The Professional's Secret
Consistent quality is the hallmark of professional stonemasons. They employ various methods to achieve a flawless finish. For example, meticulous stone selection, ensuring seamless blending with the existing veneer, is crucial. They pay close attention to color, texture, and size variations. This attention to detail often distinguishes a professional repair from a DIY endeavor. Precision in applying adhesive and mortar further strengthens the weather resistance of the bond.
Building Relationships with Local Suppliers
Connecting with local suppliers like Bunnings and Mitre 10 is a strategic advantage. These suppliers offer access to quality materials at competitive prices. They also provide invaluable expert advice tailored to your region’s climate. They can recommend adhesives ideal for coastal environments or suggest appropriate sealants for extreme temperature fluctuations. These relationships can significantly enhance your long-term repair and maintenance efforts.
Troubleshooting and Realistic Expectations
Even with meticulous planning, challenges can emerge. A color mismatch or a cracked stone during installation can be frustrating. Knowing how to troubleshoot these common problems is essential for achieving a satisfactory outcome. Realistic expectations are equally important. While minor chips and cracks are often manageable for DIY enthusiasts, complex repairs generally require professional expertise. Recognizing when to call in a professional can save you time, money, and unnecessary frustration.
To help you choose the right approach for your project, let’s compare DIY and professional repair outcomes:
Stone Veneer Repair Success Factors Comparison
Comparison of DIY versus professional repair outcomes across different damage types and complexity levels
| Repair Type | DIY Success Rate | Professional Advantage | Cost Difference | Recommended Approach |
|---|---|---|---|---|
| Minor Chips/Cracks | High | Faster, Guaranteed Results | Moderate | DIY for small areas, professional for larger areas |
| Replacing Few Stones | Medium | Expertise in Matching Stones | Significant | DIY if experienced, otherwise professional |
| Structural Damage | Low | Specialized Tools & Knowledge | High | Professional |
| Corner Repairs | Low | Precision & Experience | High | Professional |
As this table illustrates, while DIY can be suitable for minor repairs, professional intervention offers superior results, especially for complex or structural damage. Their expertise ensures a seamless, durable, and aesthetically pleasing finish, ultimately saving you time and potential headaches.
Flomary Group offers innovative, lightweight stone veneer solutions ideal for any project, from residential renovations to commercial builds. Explore our range of high-quality products and discover how we can help you bring your vision to life. Visit us today for more information and a free quote.

